Using the session video recording tool
The Session Video Recording tool allows you to capture video recording of the remote desktop connection and store it on your local computer.
The recorded file type is Windows Media Audio/Video file (.WMV).
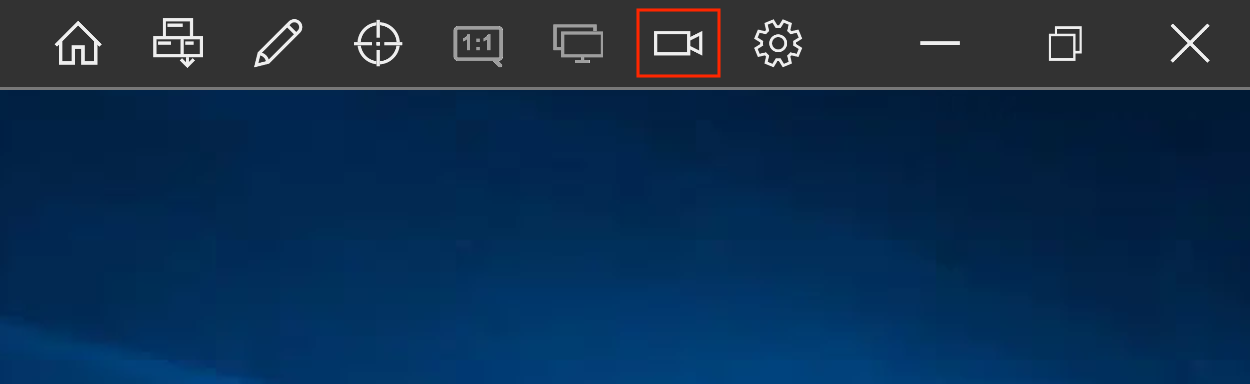
- Press the Start Session Recording button on the session toolbar:
- After pressing the Session Recording button, your video will be automatically recorded to the My Documents folder. The following message will appear in your chat panel:
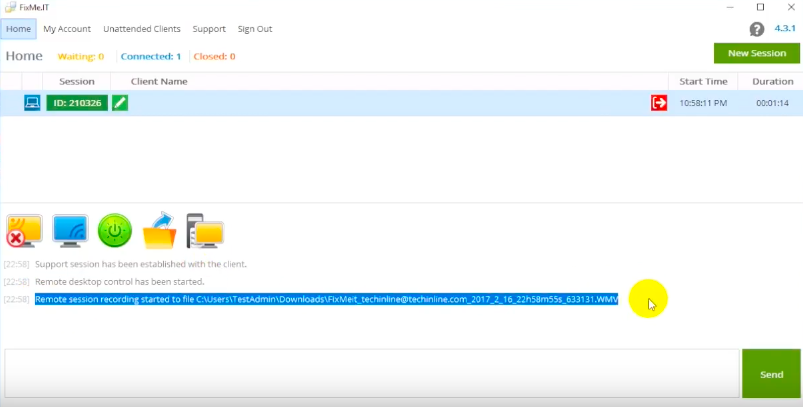
- To stop the recording, press the Session Recording button again. The recording will also stop automatically if you close the remote desktop window or disconnect from the client. To view the recorded file, click the Show in folder button located in your chat panel.
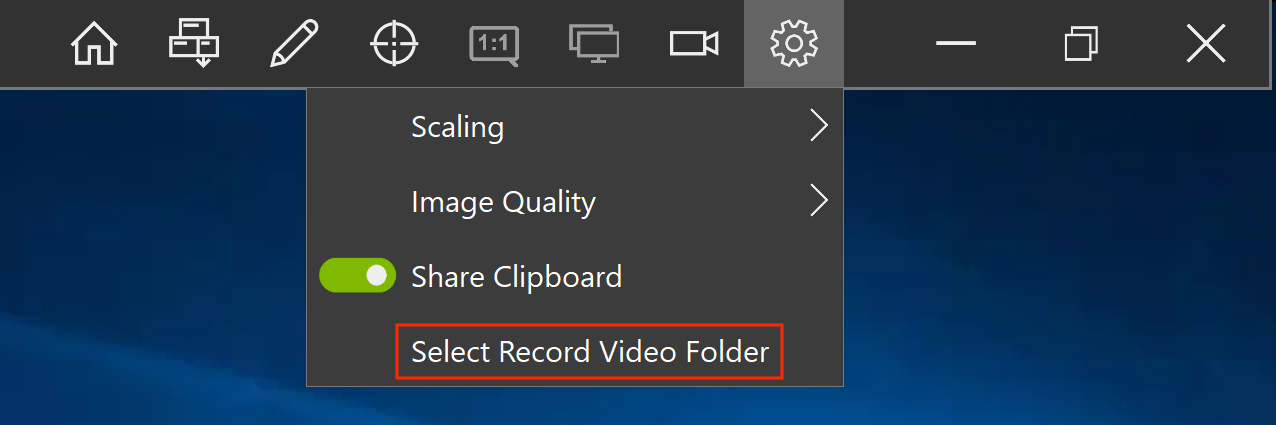
To change the folder where the recorded video is saved, go to Settings > Set Record Video Folder and select the target folder.