Installing Client application on a remote computer
Installing the Client application will provide the following advantages:
- To run the Client application, the remote user simply needs to click the FixMe.IT Client icon on their desktop instead of downloading the application from fixme.it each time.
- Upon running the installed Client application, it is automatically started with administrator rights without receiving any UAC prompts.
The installed Client application is automatically updated when a new version is released.
Installing Client Application from Home toolbar (during the session)
- If the Client application was started without administrator rights, you will first need to Restart the Client as a Windows system service .
Navigate to the Home toolbar, click on the Install menu item and choose Install Client Application. Click OK in your chat panel to confirm the installation, then check the status and result of the installation in your chat panel.

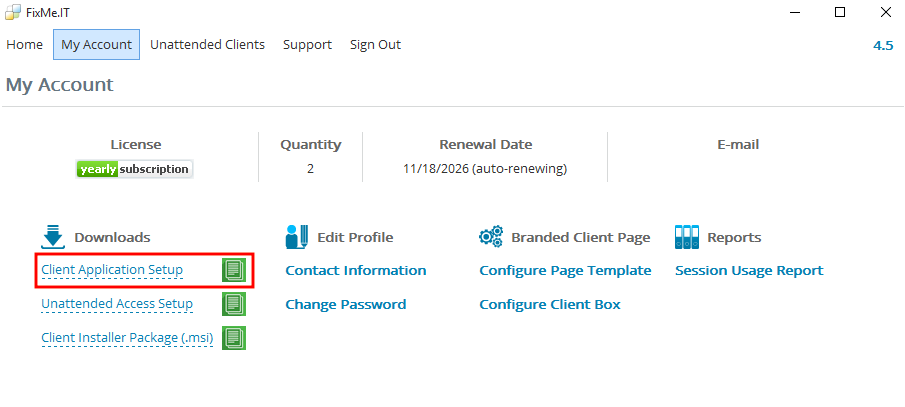
Installing the FixMe.IT Client Setup File (out of session):
- Navigate to My Account tab and download the FixMe.IT Client Application Setup file. You can either save the actual file or copy its URL to clipboard using the green icon to the right of the file name.
- You can now run the copied file on the remote machine or simply send the setup file over to the remote user via any means of communication (Skype, email, LiveChat, etc.).
Administrator rights are required in order to install the Client application using the setup file.